
Fall has arrived, but that doesn’t mean it is time to put away the white wine.
While often associated with warm summertime weather, refreshing white wines deserve a place at your table year-round. When the weather gets cold, all you need to do is serve your white wine with some heart-warming comfort food and you’ve got a perfect fall pairing!
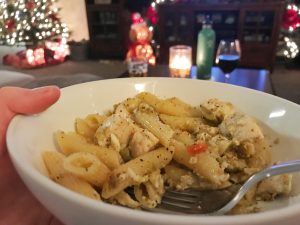
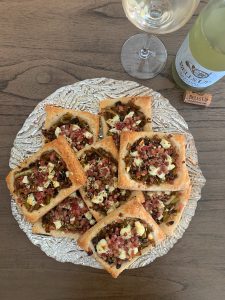
I recently paired the 2020 Bells Up Rhapsody Pinot Blanc with a newly-created recipe of mine: Creamy Leek Puff Pastry “Tartine”. It was a perfect fall dinnertime meal.

The Rhapsody Pinot Blanc is a great wine to serve in the cooler months. While dry and high in acid, the Pinot Blanc grape has a fuller body which allows it to stand up to richer foods. The fruitiness of the wine is balanced by minerality and flavors of biscuit and pastry, which is created by aging the wine on its lees (yeast) for 6 months before bottling.
My Creamy Leek Puff Pastry “Tartine” recipe is loaded with flavors to compliment the Rhapsody Pinot Blanc. The buttery, flakey puff pastry crust acts as a vessel for rich mushrooms, tangy goat cheese, creamy leeks, savory pancetta, dried herbs, and fresh lemon zest. Each component of the tartine plays with a part of Rhapsody’s flavor profile.

The leeks and mushrooms give a subtle umami quality that satiates the palate. The goat cheese brings a creamy, tangy flavor to the party which is cut by the acid in the Rhapsody Pinot Blanc. The body of the Pinot Blanc stands up to the buttery, rich taste of the puff pastry. The salty pancetta, aromatic herbs, and lemon zest round out the flavor profile and keep you going back for another sip of wine.
This pairing is complex enough to savor, yet simple enough to quaff away without thinking too hard about it. It’s a perfect pairing for everyone!
The Creamy Leek Puff Pastry Tartine is substantial enough to serve as a meal, or you can make bite-sized versions of this delicious puff to serve as an appetizer. No matter how you slice it (see what I did there?!), make sure you’ve got some Bells Up Rhapsody Pinot Blanc on hand to serve alongside!
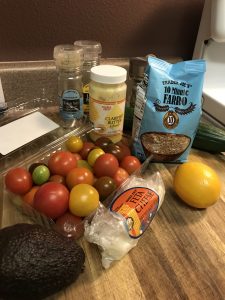
Here’s what you need:
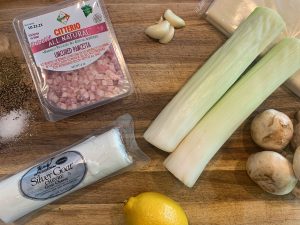
18 oz frozen puff pastry
6 oz leeks, trimmed (white part only)
4 oz mushrooms
3 cloves garlic
4 oz pancetta, diced
5 oz goat cheese
2 tablespoons salted butter
Herbs de Provence
Salt and Pepper to taste
Zest of one lemon
Instructions:
- Defrost puff pastry according to package instructions (this may take up to two hours).
- Preheat oven to 400 degrees.
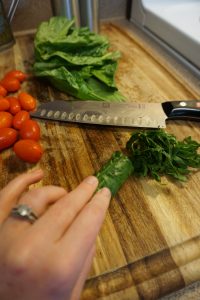
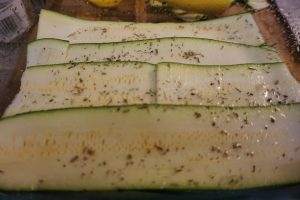
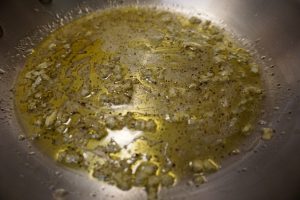
- Slice leeks into ¼ inch slices. Dice mushrooms into ½ inch pieces. Mince garlic. Over medium heat, melt two tablespoons of salted butter. Add leeks, mushrooms, and minced garlic. Season with salt and pepper to taste. Cook until leeks are translucent and the mixture has reduced. Let cool.
- Unroll puff pastry and place on a lined baking sheet. Cut pastry into 4” squares and place 1-inch apart on the baking sheet. Gently place the leek and mushroom mixture in the center of each square, leaving about a ½ inch border around the edges.
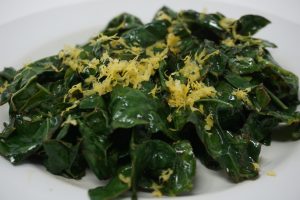
- Crumble goat cheese on top of each square of pastry. Gently spread about 1 teaspoon of pancetta on each pastry square. Sprinkle pastry squares with Herbs de Provence.
- Place the baking sheet in the center rack of the oven and bake for 20-22 minutes. The edges of each pastry should be puffed and golden, and the bottom should be an even golden brown color. Remove from oven and let cool on the baking sheet for 10 minutes. Move to serving dish and garnish with lemon zest. Serve with Bells Up Rhapsody Pinot Blanc!
Pro tip: Cut the pastry into smaller 1.5” squares for a bite-sized appetizer!
Bells Up Winery is a micro-boutique winery located in Newberg, Oregon, in the heart of the Willamette Valley. Dave and Sara Specter and the owners, operators, visionaries, and winemakers. Talk about a family enterprise!

If you pay a visit to Bells Up Winery, you will get an experience unlike any other. Tastings, referred to as “Maestro Classes”, are by appointment only and are led by Dave Specter himself. Dave, a former classical musician, speaks about his wines as if he is describing an arrangement of music. In fact, all of the Bells Up wines are named after a piece of classical music that mimics the tasting experience of that particular wine.

If you can’t make it for a visit, consider ordering wine directly from Bells Up. There’s a selection of wines perfect for a relaxing evening at home or a holiday gathering! I truly love each of the wines on the Bells Up tasting menu. When I visited in August, I also got a sneak peak of the next wine to be added to the lineup: a Washington Cabernet Sauvignon that is out-of-this-world. I can’t wait for another glass of that!
If you’re looking for more information about other Bells Up wines or recipe pairings, check out the links below!
3 Unique Oregon Wines (plus recommended food pairings!)
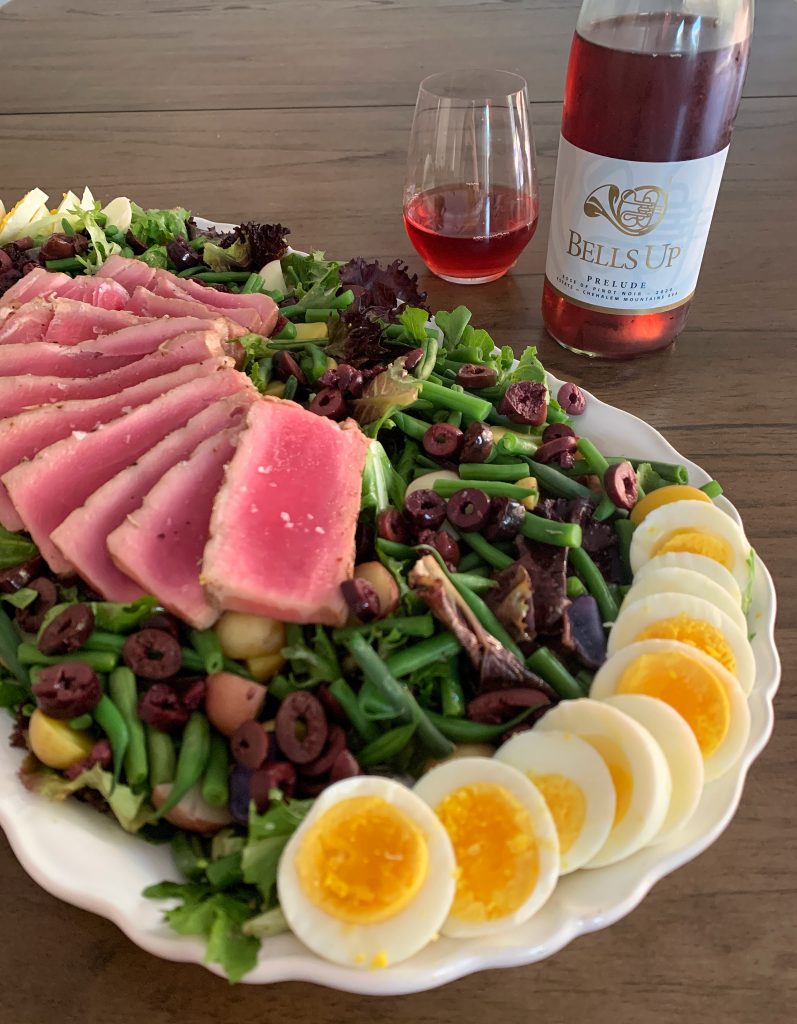
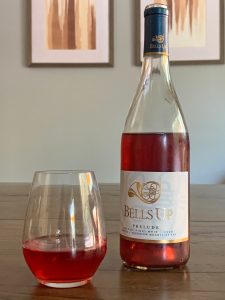
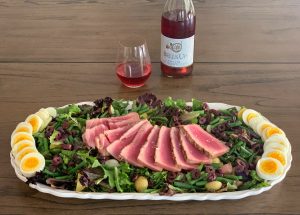
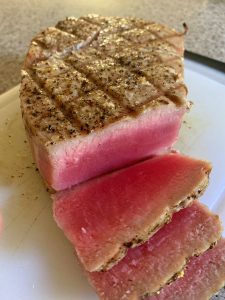
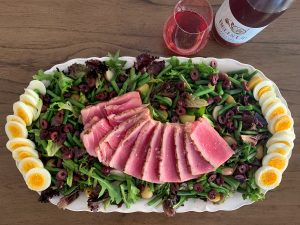
Ahi Nicoise Salad with Bells Up Prelude Rosé
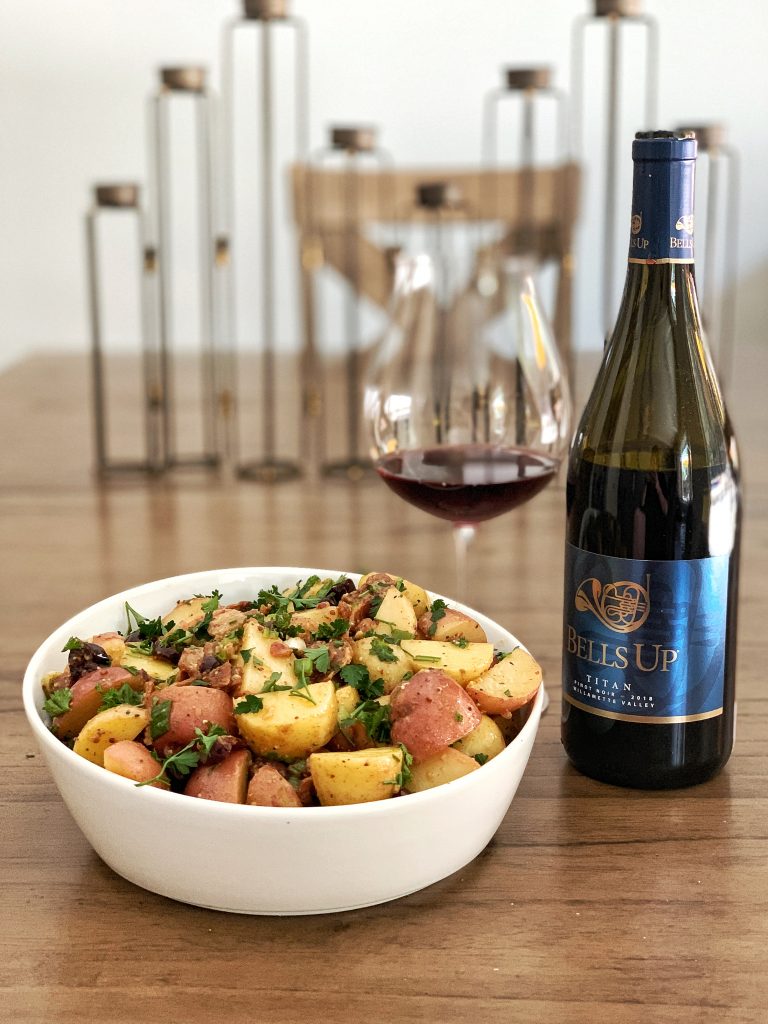
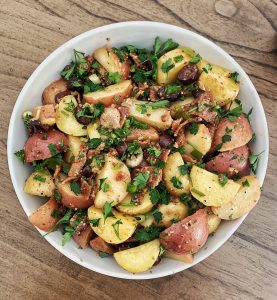
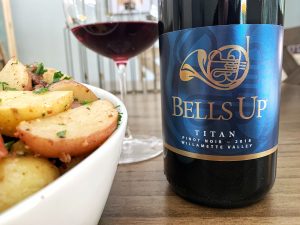
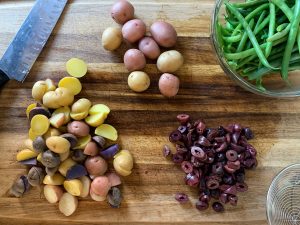
Wine Country Potato Salad with Bells Up Titan Pinot Noir
Using “Body” for a Food & Wine Pairing
Here’s the geeky info about the Bells Up Rhapsody Pinot Blanc:
Color: Pale lemon
Nose: Lemon, pear, wet stone, floral, a hint of stone fruit, a hint of pastry
Palate: Dry, high acid, medium + body, medium alcohol, pronounced flavors, long finish, round texture
Flavor: lemon zest, peach, nectarine, wet stone, gooseberry, green apple, pear, minerality, very slight pastry/biscuit notes